Writing React Plugins
In this blog post we will go through how you can create plugins for Grafana using ReactJS. This presumes you have some basic knowledge about writing components in React.
(complete code for the example used in this post can be found here).
In Grafana 6.0 we started the migration to using React in Grafana. This allows you to write plugins using React instead of AngularJS. We are making it easier to write React plugins by releasing a Grafana component library - the new @grafana/ui npm package. The new npm package is still in Alpha and we are making breaking changes to the react plugin framework. But we want to encourage people to test it and give us early feedback.
Let’s take a look at how you can build your own plugin, using React and TypeScript.
Setup
There are a few things to consider when writing a new plugin. With Grafana 6.0, we need to move our plugins directory
outside of the Grafana project directory. Feel free to put your plugins directory where you usually store code on your computer.
Next, we need to tell Grafana where it should look for plugins. Grafana comes with a defaults.ini file in grafana/conf/, and we can overwrite this by
creating and modifying a custom.ini. So put yourself in the grafana/conf directory and cp defaults.ini custom.ini.
Open custom.ini with your file editor of choice and search for this phrase:
Directory where grafana will automatically scan and look for plugins
Modify the line under that to:
plugins = <path to your plugins directory>
Restart your grafana-server after this.
Now we’re ready to move on!
The Structure
Grafana needs some basic project structure in your plugin. Grafana will look for a plugin.json located in a src
directory. The plugin.json should contain some information about your plugin; you can read more about it
here.
Also within the src directory we need a module.tsx file. In this file, we will introduce the first magic from our
newly-released @grafana/ui package.
import { PanelPlugin } from '@grafana/ui';

import { RssPanel } from './components/RssPanel';
import { RssPanelEditor } from './components/RssPanelEditor';

import { defaults, RssOptions } from './types';

export const reactPanel = new PanelPlugin<RssOptions>(RssPanel);

reactPanel.setEditor(RssPanelEditor);
reactPanel.setDefaults(defaults);
Let’s go through this and figure out what this file does:
First off, we’re creating a new instance of a
ReactPanelPlugin, which is a class imported from @grafana/ui. We’re sending in our option type (in this case RssOptions, which we’ll get to later).Next up we’re setting the editor component for our plugin with the
setEditor()function.Lastly we’re setting any default options that we might have.
That’s it!
The Panel
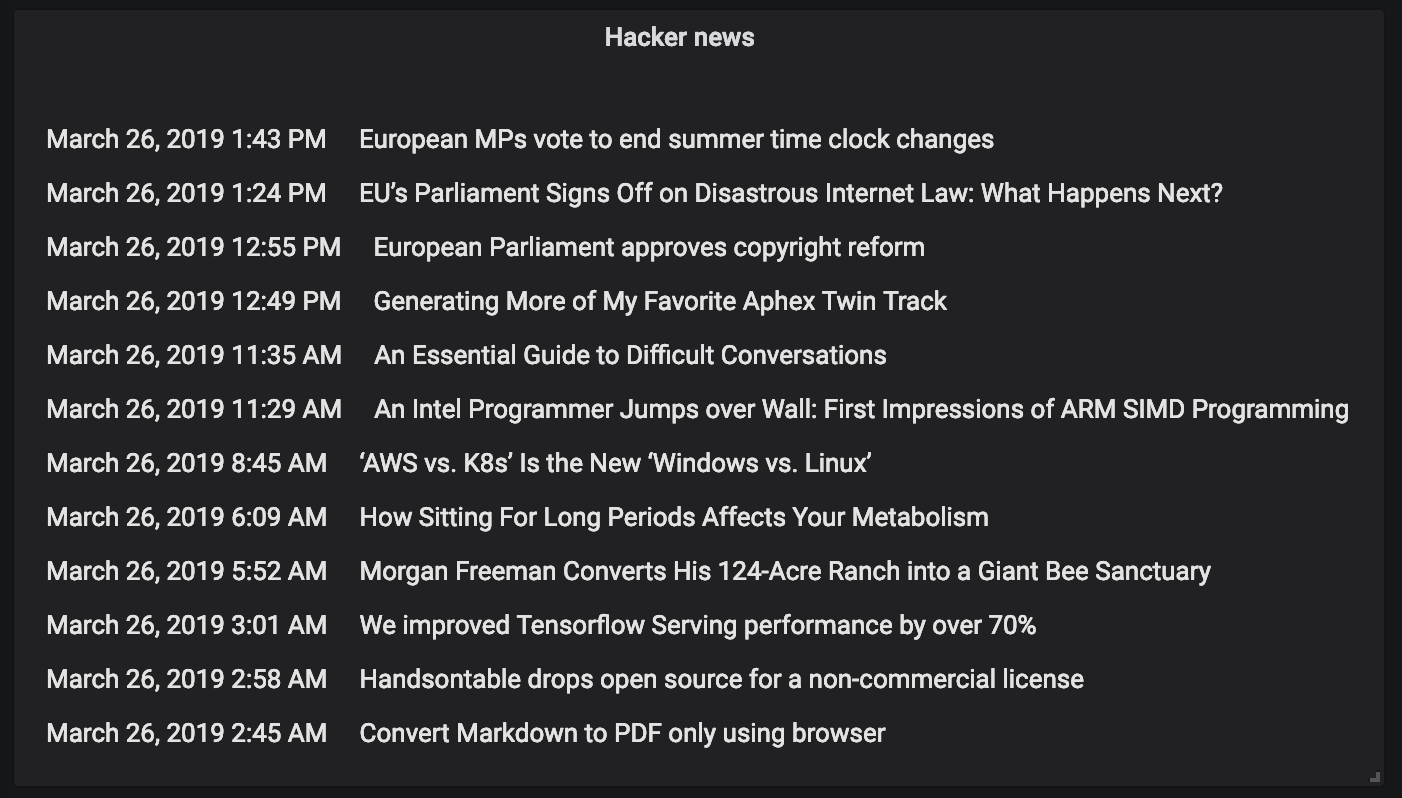
Now we’re at the fun part. This is where you can let your creativity flow. In this example we’re building an Rss-panel,
and what we’re going to need is some kind of table to display our result. We’re going to use an interface exported by
@grafana/ui called PanelProps. This will provide us with the props we need, such as height and width. I won’t go into
any specifics about writing React components, but I will highlight some things that we do to make our panels written in
React work.
Basic setup of a panel class:
interface Props extends PanelProps<RssOptions> {}
interface State {}

export class RssPanel extends PureComponent<Props, State> {}
It’s important to use React’s life cycle methods to make sure your component updates when the props change. We
do this by invoking componentDidUpdate in our Rss-panel example. So when our user updates the url to the rss feed, we will
update the panel to fetch an rss feed from the new url. In this example we’re using a library called rss-to-json to
fetch and transform the rss feed to javascript objects.
The Panel editor
For adding options to Plugins, we’re using a concept called Editors. In this example we’ll create a component called
<RssPanelEditor />. We have an interface for Editors in @grafana/ui as well, called PanelEditorProps. If we
provide our options type to this interface, we will have the onChange method available for updating our panel when
we change the options.
export class RssPanelEditor extends PureComponent<PanelEditorProps<RssOptions> {
  onUpdatePanel = () => this.props.onChange({
    ...this.props.options,
    feedUrl: 'this new rss feed url'
  });
}
Types
We strongly encourage you to use types in your panel. This makes it easier for you and others to spot potential bugs. In
this example we’ve added some types for RssFeed, RssFeedItem, and RssOptions. These are located in src/types.ts.
Building
To be able to load the plugin, Grafana expects the code to be in plain JavaScript. We’re using webpack for the build step to transpile TypeScript to JavaScript in our RSS-plugin example.
Testing
Start your grafana-server again, and make sure that your plugin is registered.
Registering plugin logger=plugins name="Rss Panel"
Add a new panel to a dashboard, and locate your new panel in the visualization picker.

